
Uncategorized
Caravan Water Tank Cleaner: A Complete 2026 Guide
Jul
You fill the tank before a trip, boil the kettle on the first morning, and the water still tastes flat, plasticky, or slightly swampy. That usually tells you the problem isn't the tea. It's the tank, the lines, or both.
A lot of caravan owners focus on the pump, the tap, or the filter first. Fair enough. But stale-tasting water often starts with residue, biofilm, old water sitting too long, or a cleaner that was used the wrong way. The good news is that fixing it is usually straightforward if you clean the full system properly and match the method to the tank material.
Why Your Caravan Water Tastes Stale and How to Fix It
That stale taste shows up in familiar ways. Tea tastes odd. Brushing your teeth feels unpleasant. Cold water from the tap smells “old” even though the tank looked fine when you filled it. In practice, that's usually a sign that water has sat too long, the plumbing lines weren't sanitised with the tank, or residue was left behind after a rushed flush.
Heat makes it worse. So does storage. A caravan can sit for weeks between trips, and the water system doesn't stay fresh just because the cap was closed. Tanks and lines can build up slime, algae, sediment, and bacterial contamination, especially when water movement is minimal.
The taste problem usually starts behind the tap
The tank is only one part of the system. Water also sits in hoses, elbows, pump strainers, hot and cold lines, and any dead-end sections of plumbing. If someone cleans the tank but forgets to run the cleaning solution through every outlet, the first fresh refill can still pick up contamination on the way out.
That's why a proper caravan water tank cleaner routine has two goals:
- Make the water safe by sanitising the tank and plumbing
- Make the water pleasant by removing residue, odours, and stale taste
If you're not sure whether the issue is taste alone or a broader water quality problem, it helps to understand the basics of caravan water quality testing before assuming the tank is the only culprit.
Clean-looking water can still taste wrong because the problem often sits on the inside surface of the tank or in the plumbing lines, not floating visibly in the water.
What actually fixes it
A quick drain and refill won't usually solve stale taste for long. What works is a full cleaning cycle, then a proper rinse cycle, then a maintenance routine that suits how you travel. That last part matters more now because many vans spend longer off-grid, with water sitting in the system under Australian heat.
If the taste is mild, a correct sanitise-and-flush often fixes it. If the smell keeps returning, you're usually dealing with a maintenance pattern problem, not a one-off contamination issue.
Choosing the Best Caravan Water Tank Cleaner
The best caravan water tank cleaner depends on two things. First, what the tank is made from. Second, whether you need heavy sanitising or routine freshening.
A lot of bad advice comes from treating every tank the same. That's how people end up with lingering chlorine taste in a plastic tank, or worse, damage a stainless tank by leaving the wrong cleaner in too long.
What works best in real use
Expert guidance on caravan and RV water tank cleaning says Chlorine Dioxide products such as CleanOxide are highly effective for consumption safety because they eliminate biofilm without leaving a strong chlorine taste. The same guidance also makes a critical distinction: stainless steel tanks should only have the cleaning solution in contact for 5 minutes before pumping out, while plastic tanks can have solution drawn through the system and left overnight.
That difference is not minor. It's one of the most important decisions in the whole job.
Comparison of Caravan Water Tank Cleaners
| Cleaner Type | Best For | Pros | Cons / Cautions |
|---|---|---|---|
| Chlorine Dioxide cleaner such as CleanOxide | Owners who want strong sanitising with less taste carryover | Effective on biofilm, better taste outcome than standard bleach | Must still follow product directions closely, especially with tank material |
| Unscented bleach with only Sodium Hypochlorite and Sodium Hydroxide | Low-cost routine sanitising when dosed correctly | Easy to source, effective when measured properly | Wrong bleach type can introduce unsuitable additives; poor rinsing leaves taste |
| Vinegar or bicarb for freshening | Mild odour freshening or mineral residue in non-sanitising tasks | Useful for light cleaning jobs | Not a replacement for proper sanitising |
Plastic tank versus stainless tank
For plastic tanks, overnight contact is commonly used when sanitising the full system. That gives the cleaner time to work through film and contamination inside the tank and pipework.
For stainless steel tanks, long soak times are where people get into trouble. If you use a general overnight method on stainless because you found generic advice online, you risk corrosion and unnecessary damage.
Practical rule: If you don't know whether your tank is plastic or stainless, stop and confirm before adding any cleaner.
Bleach is fine, but only if you buy the right one
If you use bleach, keep it plain. No fragrance. No surfactants. No “splashless” additives. For potable water systems, only bleach containing Sodium Hypochlorite and Sodium Hydroxide is appropriate according to the same expert guidance above.
That's the trade-off. Bleach is accessible and effective, but it's less forgiving if the dosage is sloppy or the rinse is rushed. A dedicated cleaner can be easier on taste, but it still needs the right contact time and a method matched to your tank.
The Complete Tank Draining and Cleaning Process
Start by making the system safe to work on. Turn off the pump. Isolate the hot water service if needed and let it cool. Then open the tank drain and the taps so the system can empty fully instead of glugging and trapping water in low points.
If your pump has been behaving oddly, it's worth understanding how your 12 V caravan water pump works before you begin, because a weak pump or blocked strainer can make it look like the cleaner isn't circulating when the actual issue is flow.
A simple visual guide helps keep the sequence straight:
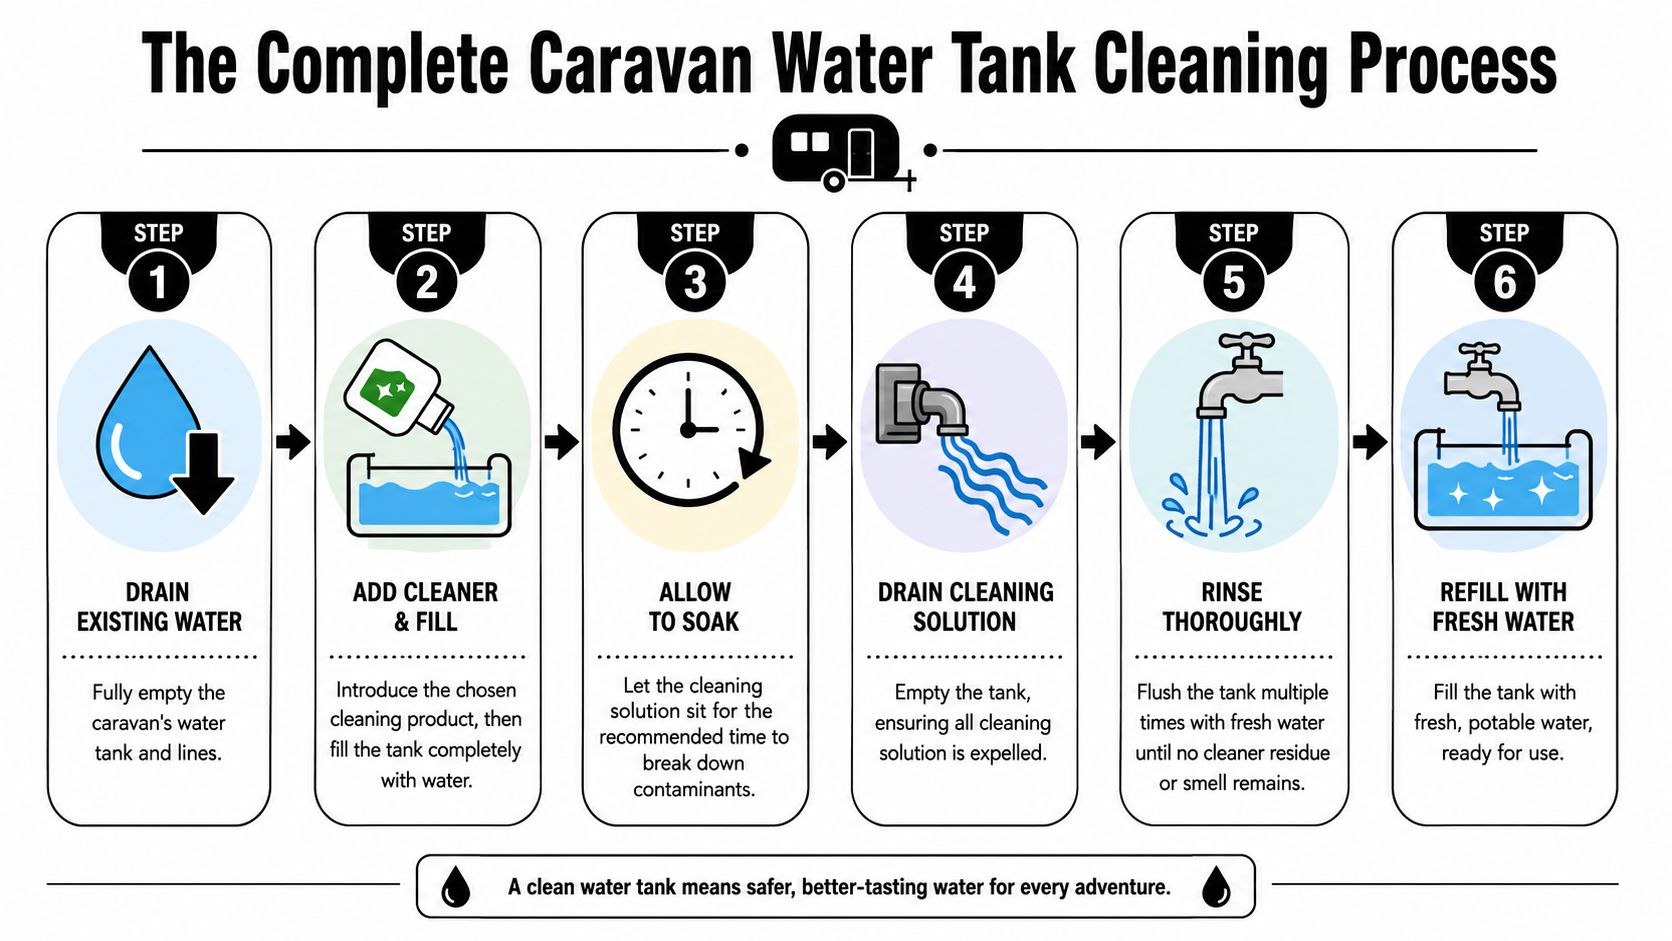
Step 1 empty the tank and lines properly
Don't just crack the drain and call it done. Open all hot and cold taps, including any external shower, to let old water leave the pipework. If there's water trapped in the lines, the cleaner gets diluted and the dirty water remains in circulation.
Check obvious collection points while you're there:
- Pump strainer: Sediment often gathers here first
- Tap aerators: Fine debris can clog them after cleaning
- Low-point drains: These need to be open long enough to fully clear
Step 2 mix the bleach solution accurately
For a 100-litre caravan tank, the expert-approved method is to add 12.5 ml of liquid bleach, fill the tank with water, run the solution through all taps for 10 to 15 seconds, and let it sit for 24 hours according to this expert bleach method demonstration. The same source notes a common mistake: people fail to flush the tap lines, which leaves contaminated water in the plumbing.
Accuracy matters here. Too little and you won't sanitise properly. Too much and the system becomes harder to rinse, with taste issues hanging around longer than they should.
For readers who want a walk-through, this video shows the process in a practical way:
Step 3 push the solution through the full plumbing system
This stage often sees plenty of DIY jobs fall apart. The cleaner has to move through:
- Cold taps
- Hot taps
- External outlets
- Any line that normally holds water
Run each outlet long enough for the solution to enter that branch. If you skip one, you leave a pocket of stale water in place. Once you refill later, that contamination can spread back into the rest of the system.
Step 4 respect contact time, but match it to the tank
For plastic tanks, a long soak is part of the sanitising job. For stainless tanks, use the material-specific timing covered earlier. Don't assume one universal method applies to both.
A cleaner only works if it reaches the contamination and stays in contact for the right amount of time. More time isn't always better, especially with stainless.
Step 5 drain everything again
After the soak period, drain the tank completely. Then open the taps and let the lines empty. If possible, give the van a little time for residual water in low sections to work its way out before the first rinse.
At this stage, you're not chasing perfection. You're removing the bulk of the cleaning solution before starting the rinse cycle that restores drinking quality.
Flushing and Rinsing for Pure-Tasting Water
Most complaints about a caravan water tank cleaner aren't really about the cleaner. They're about the rinse. If the flush is lazy, the tank may be sanitised but the water still tastes chemical, flat, or just wrong.
The first drain after sanitising gets rid of the used solution. It doesn't finish the job.
Rinse the system, not just the tank
Fill the tank with fresh potable water. Then run every outlet again, hot and cold, until fresh water has moved through the entire plumbing system. Don't skip the hot side. If sanitiser sat in those lines, it has to come out of those lines.
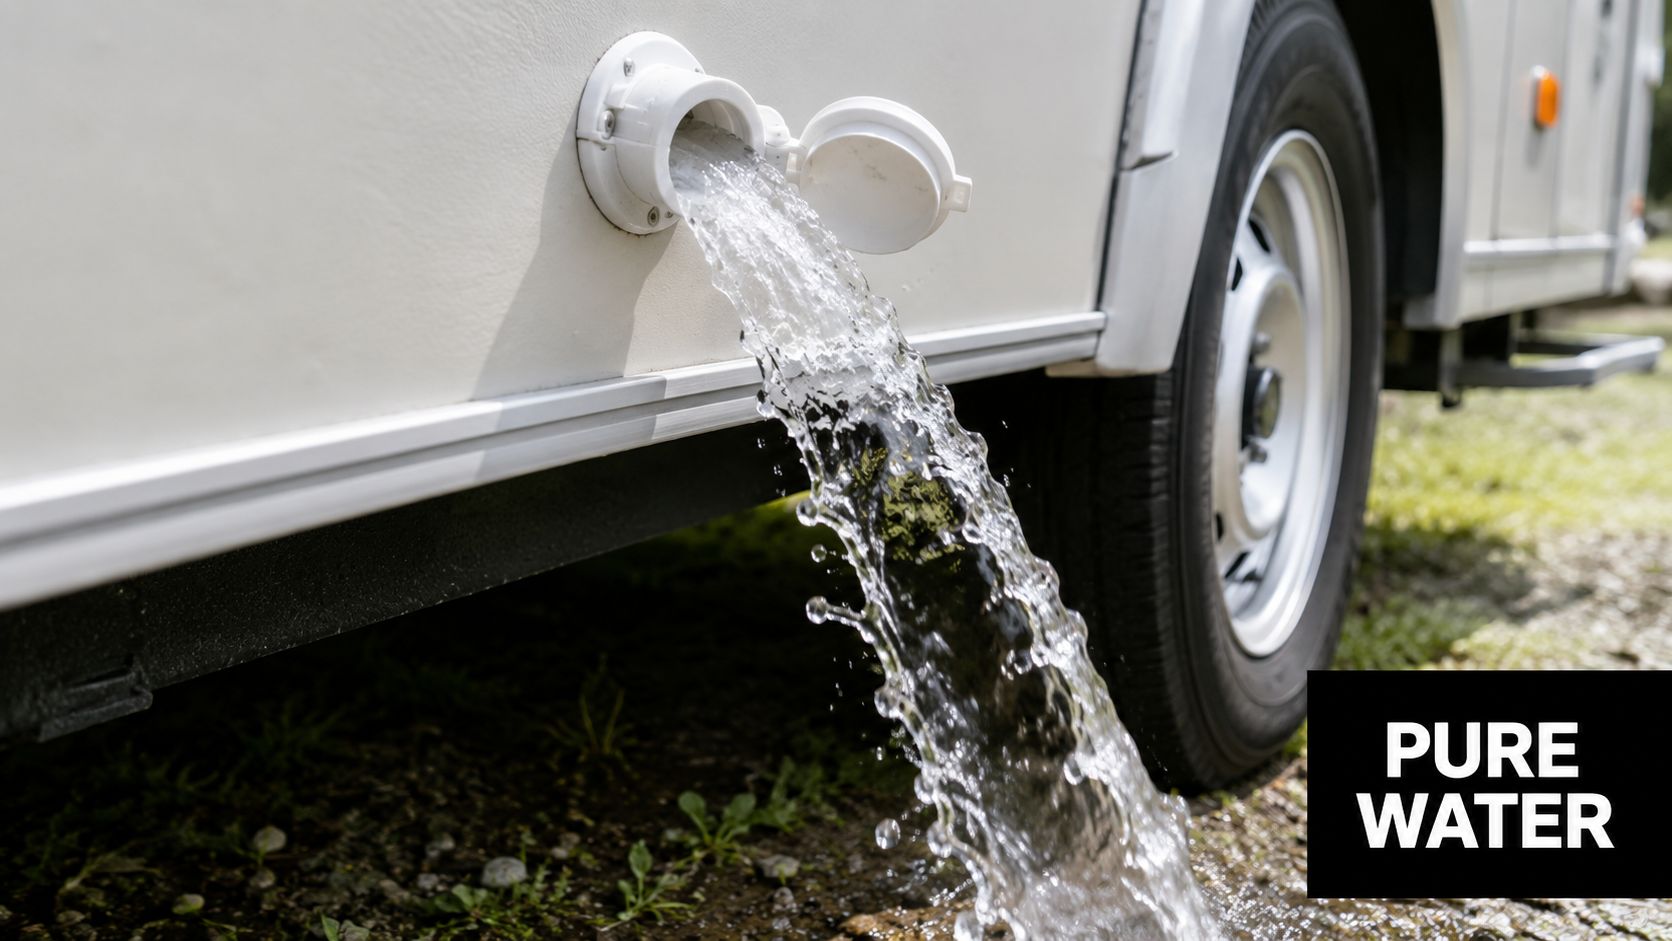
A good rinse sequence looks like this:
- First flush: Refill with fresh water and run all outlets until the strongest cleaner smell drops away
- Second flush: Refill again and repeat, including the external shower or any less-used tap
- Final check: Taste and smell the water at the furthest tap from the tank
Don't trust one quick rinse
One rinse is rarely enough after a proper sanitise. Residue can sit in elbows, mixer bodies, the pump head, and hot water plumbing. Running only the kitchen tap for a few seconds won't clear that.
If you can still smell the cleaner at the tap, it isn't ready for drinking yet.
Use the sniff test and the taste test
This isn't glamorous, but it works. Smell the water from the tap before you taste it. If there's still a bleach note or chemical edge, keep flushing. Once the smell is gone, taste a small amount from the cold line.
If the tank is clean but the taste still seems off after repeated flushing, look downstream. Filters due for replacement, dirty hoses, and old tap aerators can all hold odour and residue.
Troubleshooting and Proactive Maintenance
You fill up before a long weekend, the water seems fine on day one, and by day three the smell is back. That usually points to a repeat contamination problem, not a failed one-off clean.
In practice, stale taste that returns quickly comes from three places. Water is sitting too long between uses. Part of the system is still holding old contamination. Or the next fill has brought fresh sediment, organics, or tainted hose taste straight back into the tank.
Set a schedule that matches the tank material and the way you travel
A calendar reminder every few months is a decent baseline, but it is not how I'd manage a van that sees regular off-grid use in Australia. Heat, long storage gaps, mixed water sources, and low turnover all shorten the useful cleaning interval.
Tank material matters too. Plastic tanks tend to hold taste and odour more readily, especially after warm-weather storage or lower-quality fill water. They usually benefit from more frequent inspection and cleaning. Stainless steel tanks are less prone to absorbing odour, but they still grow biofilm if water sits, and they still collect sediment in the bottom and around fittings.
Use a simple schedule that fits real travel patterns:
- Plastic tank, frequent off-grid travel: inspect monthly and clean on a shorter cycle, especially through warmer months
- Plastic tank, occasional touring: clean before a major trip and again after storage if water has been left sitting
- Stainless tank, regular use: inspect less often for taste issues, but still clean on schedule because plumbing lines and fittings can foul even if the tank itself is in better shape
- Any tank after a bad fill source or long lay-up: clean the system before drinking from it again
Cleaning only when the water smells off is leaving it too late.
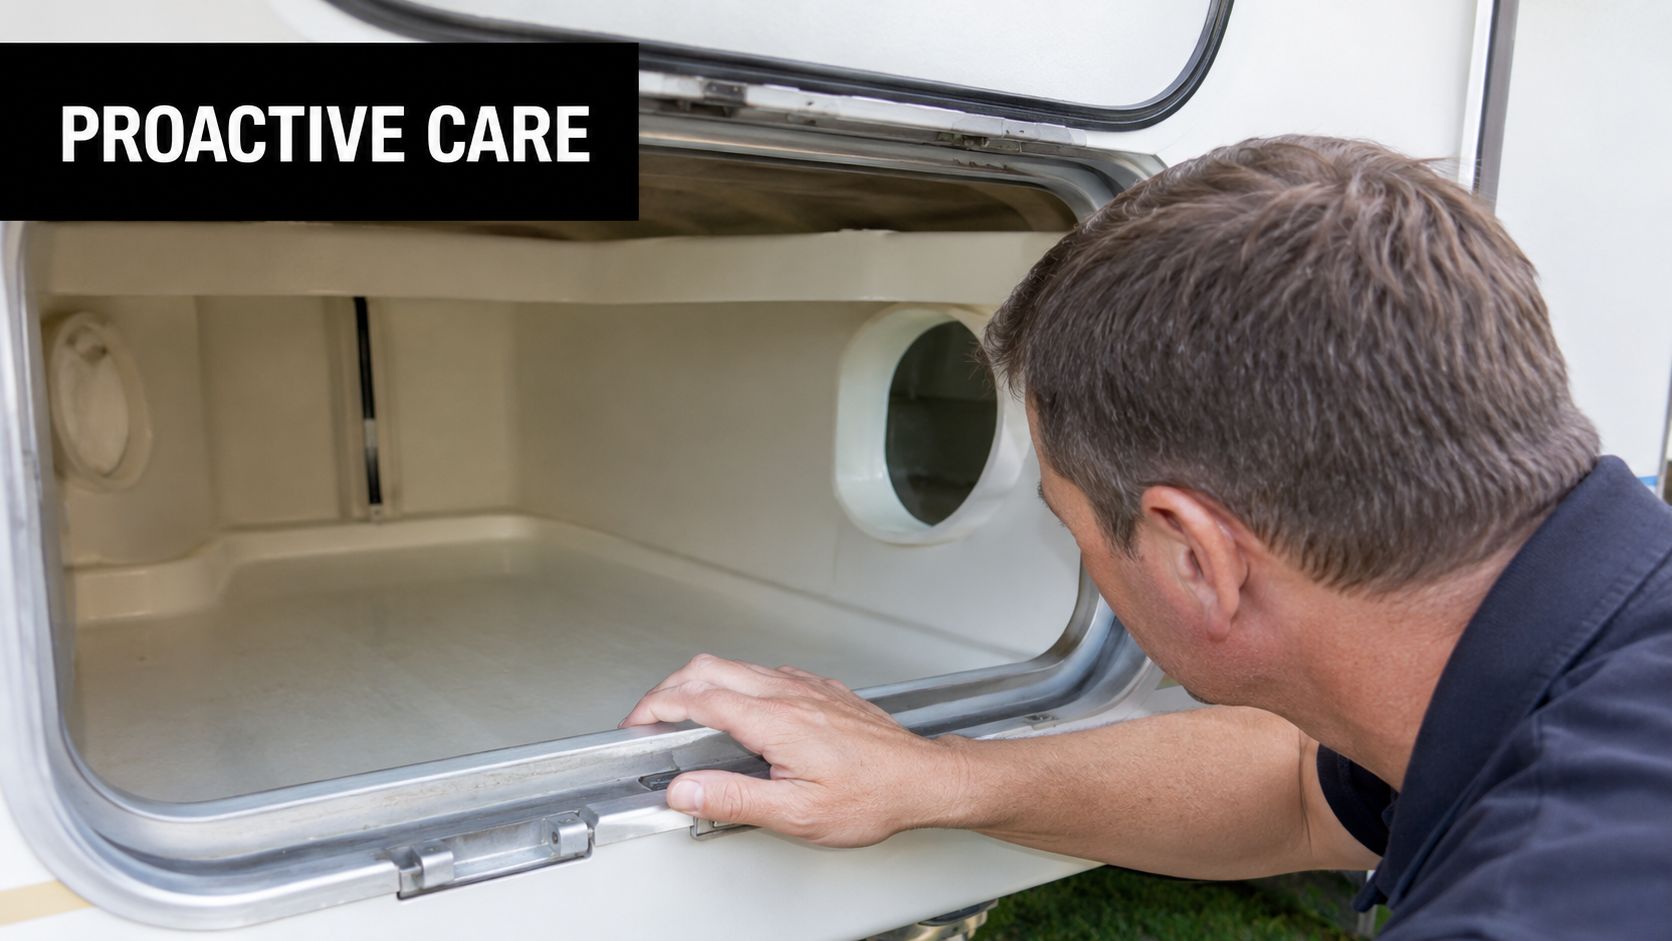
Track down the real source of repeat odour
If the smell comes back within a trip or two, stop assuming the tank is the only culprit. Check the parts that trap residue and stay damp between uses.
Start with these:
- Filler cap and tank vent: dust, insects, and road grime often get in here first
- Pump strainer: fine sediment and organic matter collect quickly after a questionable fill
- Tap aerators and shower heads: these hold debris and can taint otherwise clean water
- Inline filters: an overdue cartridge can make water taste worse, not better
- Clear or light-exposed sections of plumbing: algae growth is more likely where light gets in
Filter choice matters if you top up from showgrounds, stations, rural taps, and park supplies. A proper setup reduces sediment load and helps protect taste. If you're weighing options, this guide to the best water filter for a caravan gives a useful starting point.
Small habits usually cause the repeat problem. A hose left uncapped on the ground, a half-used tank parked in the sun, or a filter left in service too long can undo a good clean.
Storage and cold-weather checks
Long storage needs its own routine. For plastic tanks, I prefer not to leave water sitting any longer than necessary because taste and odour issues show up faster after warm storage. Stainless tanks tolerate storage a bit better, but the lines, pump, and hot water service still need attention.
Before parking the van up, drain what should be drained, clean if the water has been in there for a while, and leave the system in a condition you can trust later. Before the next trip, inspect for stale smell, debris at the filler, and any sign that old water remained trapped in low points.
If you travel into alpine or inland cold areas, winter protection also affects water hygiene. Cracked fittings, split strainers, and trapped pockets of old water often show up after freezing conditions. This guide on preventing frost damage is worth reading if your van sees cold-weather trips.
Visible slime, persistent algae, or contamination after a poor fill source calls for more than routine maintenance. At that point, treat it as a full-system hygiene problem and inspect the tank, lines, pump, filters, and hot side together.
Frequently Asked Questions About Tank Cleaning
Do I need to clean the hot water service too
Yes. Any part of the potable system that still holds old water can re-taint the whole van after the tank has been cleaned. Run the cleaning solution through the hot side as well, then flush both hot and cold lines until the smell is gone.
This matters even more in vans that sit between trips or spend time off-grid. Water can sit in the heater, pipe runs, and mixer taps longer than many owners realise.
Can I use vinegar or bicarb instead of a proper sanitiser
Use them for the job they suit. Vinegar can help with some mineral scale. Bicarb can help with odour in limited cases. Neither is a reliable sanitiser for a drinking water system if you are dealing with bacteria, algae, or biofilm.
For that job, use a product intended for potable water systems and dose it properly for the tank material. Plastic tanks often pick up taste and odour faster, so owners are tempted to keep throwing household products at the problem. That usually masks the symptom and leaves contamination behind. Stainless tanks resist staining and odour better, but they still need the right cleaner and full contact through the system.
If bleach is being used for decontamination, follow health guidance and measure it accurately. The Victorian Department of Health publishes drinking water disinfection advice at health.vic.gov.au.
When should I stop and call a professional
Get help if the bad taste or smell returns soon after a correct clean, or if one tank keeps causing trouble while another stays fine. That can point to trapped water, a venting issue, a damaged filler seal, or internal contamination that needs inspection.
Call a professional if flow stays poor after checking strainers and tap aerators, or if you suspect corrosion, tank damage, or a hidden blockage. Stainless and plastic tanks also have different failure patterns. Stainless can hide problems around welds or fittings. Plastic is more prone to surface scratching and long-term odour retention. If you are not sure what chemical is safe for your tank, stop and confirm before dosing.
If you need caravan water system parts, filtration gear, pumps, fittings, or advice that's grounded in real-world use, Ring Hot Water can help. They supply genuine water system products for caravans and RVs Australia-wide, with practical support for choosing the right setup and keeping your drinking water system working properly.

