Uncategorized
Best Water Filter for Caravan: Your 2026 Ultimate Buying Guide

Mar
When you’re setting up your caravan, it’s easy to focus on the big things: the solar panels, the awning, the comfy bed. But one of the most important bits of kit is often an afterthought – the water filter. A good system, usually combining a sediment and carbon filter, is your best bet for dealing with the mixed bag of water sources you’ll find across Australia.
Why a Reliable Caravan Water Filter Is Non-Negotiable
Picture this: you pull into a stunning, remote campsite after a long day on the road. You’re parched. You turn on the tap, fill a glass, and take a big gulp, knowing the water is pure, safe, and tastes fantastic. That’s the peace of mind a quality water filter gives you. It’s not a luxury; it’s an essential part of any Aussie road trip.
The reality is, the water you fill your tanks with can be wildly unpredictable. Town water often has a heavy chlorine taste that can completely ruin a good cup of tea. Bore water from an outback station might be loaded with grit and minerals. Even a crystal-clear river can hide invisible nasties.
It’s About More Than Just Taste
A solid water filter is your frontline defence against contaminants that can quickly ruin a holiday. It’s not just about making your drinks taste better; it’s about actively protecting your health and your rig.
A good filter tackles several key risks:
- Bacteria and Cysts: Nasty bugs like Giardia and Cryptosporidium can lurk in untreated water from rivers or dams, leading to serious gut issues.
- Sediment and Grit: All that dirt, rust, and sand from old pipes or bore water can do a real number on your caravan’s pump, hot water system, and taps.
- Chemicals and Smells: Chlorine used in town supplies creates that unpleasant swimming-pool taste and odour, making it hard to stay hydrated.
Putting in a proper filtration system isn’t just about dodging a bad-tasting cuppa. It’s about making sure the water you drink, cook with, and use to brush your teeth is safe, every single time, no matter where you've parked up.
It’s clear that fellow travellers agree. With over 760,000 registered caravans on our roads, the demand for reliable water purification has never been higher. In fact, the Australian water purifier market was valued at a whopping USD 1,196 million in 2024 and is expected to more than double by 2033, according to IMARC Group's latest analysis.
Trying to figure out which filter to buy can feel a bit overwhelming, but that’s where getting the right advice comes in. Specialists like us at Ring Hot Water can help you find a system that’s right for your setup, so you can stop worrying about your water and get back to enjoying the journey.
Trying to figure out what’s actually going on inside your caravan’s water filter can seem a bit technical, but it’s simpler than you might think. Getting your head around the different technologies is the key to choosing the right setup for your travels, making sure every drop from the tap is clean, safe, and tastes great.
Think of it like putting together a security team for your water supply. Each type of filter has a very specific job to do, and they work best when they work together.
The Bouncer: Sediment Filters
First up is the sediment filter. This is your system's bouncer, the first line of defence standing at the door. Its one and only job is to stop the big, obvious troublemakers from getting in – we’re talking dirt, sand, rust, and silt. It’s basically a high-tech sieve.
These filters are rated in microns, which just tells you how small the holes in the filter are. A smaller number means it catches finer gunk. While a 20-micron filter might do the job for decent town water, a 5-micron or even 1-micron filter is a much better bet for tackling the fine grit you find in bore or dam water. This doesn't just make your water look clearer; it also stops your more expensive, specialised filters from getting clogged up and worn out too soon.
The Sponge: Carbon Filters
After the bouncer has kicked out the riff-raff, the water flows on to the activated carbon filter. The best way to picture this is as a super-porous sponge with a massive internal surface area. This 'sponge' is a master at soaking up all sorts of nasty chemicals and contaminants through a process called adsorption.
Carbon filters are the heroes when it comes to taste and smell. They’re brilliant at removing:
- Chlorine: The stuff councils use to disinfect water that leaves behind that "public pool" taste.
- Volatile Organic Compounds (VOCs): Nasty chemicals like pesticides that can sometimes seep into water sources.
- Funky Tastes and Odours: From things like algae or rotting leaves in river water.
Without a good carbon filter, even perfectly safe town water can make your morning cuppa taste off. It's an absolutely crucial part of making the water in your van genuinely enjoyable to drink.
The Bodyguard: UV Sterilisers
Sediment and carbon filters are great for particles and chemicals, but they won’t stop microscopic bugs. That's where a UV steriliser steps in. This is your water’s personal bodyguard, using a special UV lamp to zap any living microorganisms that try to get through.
The beauty of it is that it adds no chemicals to your water. The UV-C light simply scrambles the DNA of bacteria, viruses, and cysts like Giardia and Cryptosporidium. This makes them totally harmless and stops them from multiplying. It's a fantastic, chemical-free way to guarantee your water is safe, especially if you’re filling up from rivers, creeks, or tanks you're not sure about.
The most critical job of any serious caravan water filter is to stop harmful pathogens. A filter with a 0.5-micron absolute rating is considered the gold standard, as it can physically block cysts like Giardia and Cryptosporidium, which are common causes of gastrointestinal illness from untreated water.
The Purifier: Reverse Osmosis Systems
If you’re looking for the absolute highest level of purification, then a Reverse Osmosis (RO) system is the ultimate solution. Imagine a gatekeeper so picky that it only lets pure water molecules through. That’s RO. It forces water under pressure through a membrane with unbelievably tiny pores.
This process can remove up to 99% of all dissolved solids, including salts, heavy metals, fluoride—pretty much everything that isn't pure H2O. This incredible purity does come with a catch, though. RO systems create a fair bit of wastewater (called brine) that contains all the contaminants they've removed. In a caravan where every drop of water is precious, this can be a big drawback. For this reason, they aren't as common on the road.
To explore a system that provides exceptional purification without the water waste of RO, you might be interested in the advanced technology found in purifiers like the Seagull IV X-1F Caravan Water Purifier.
How to Choose the Right Filter for Your Travel Style
Picking the right water filter for your van isn’t as simple as grabbing the first one you see. The system that’s perfect for someone who only ever visits manicured holiday parks is completely wrong for an off-grid explorer filling up from a remote river. Your travel style really does decide everything.
It's a bit like choosing tyres for your car. You wouldn't put city tyres on a rig you're about to take up a muddy 4×4 track. Your water filter needs to be matched to the 'terrain' of your water sources, otherwise you’re either wasting money or, worse, not properly protected.
Match Your Filter to Your Adventure
So, the first thing to do is have an honest think about how you actually travel. Are you mostly a "Park Hopper" sticking to the blacktop, or an "Outback Adventurer" who disappears for weeks at a time? Your answer will point you straight to the right setup.
The Weekend Warrior (Caravan Parks Only): If your trips are mainly stays in established parks with treated town water, your biggest complaint is probably just the taste and smell of chlorine. For this, a simple and affordable inline water filter for caravan setups is all you need. These are usually single-cartridge carbon filters that do a brilliant job of getting rid of that chemical taste.
The Off-Grid Explorer (Rivers, Bores, and Dams): Now, if you’re someone who loves to get off the beaten track, your water safety needs are on a whole other level. You’ll be dealing with everything from dirt and leaf tannins to potentially nasty bacteria. A single filter just isn’t going to cut it here; you need a multi-stage system to act as your defence.
This is where twin, or even triple, filter systems really come into their own.
Why Multi-Stage Systems Are King for Off-Grid Travel
Think of a multi-stage system like a production line. The first filter is your heavy lifter, a sediment cartridge that acts as a bouncer, stopping all the big stuff like grit, sand, and rust from getting through. This initial clean-up doesn't just make the water look better; it protects the more delicate, and often more expensive, filters down the line.
With all that gunk removed, the next filter—usually a fine carbon block—can get to work on what it does best: absorbing chemicals, wiping out bad tastes and odours, and catching much finer particles. This teamwork means your filters last longer and do a much better job, which saves you cash and headaches on the road.
Water quality across Australia can be a real lottery. One week you’re battling city chlorine, the next you’re dealing with brown outback bore water. In fact, some industry figures suggest as many as 1 in 3 caravanners get sick from contaminated water each year. With reports of Giardia cases in some rural bores spiking by 18% in 2023, just hoping for the best with a basic filter is a big risk.
The whole idea behind multi-stage filtration is simple but smart: use a cheap, coarse filter to do the dirty work, which protects the expensive, fine filter that follows. This gives you far better water and makes your cartridges last way longer than a single filter trying to do it all.
To get a better idea of what you’re up against, this chart helps you figure out what kind of filtration you need based on the problem.
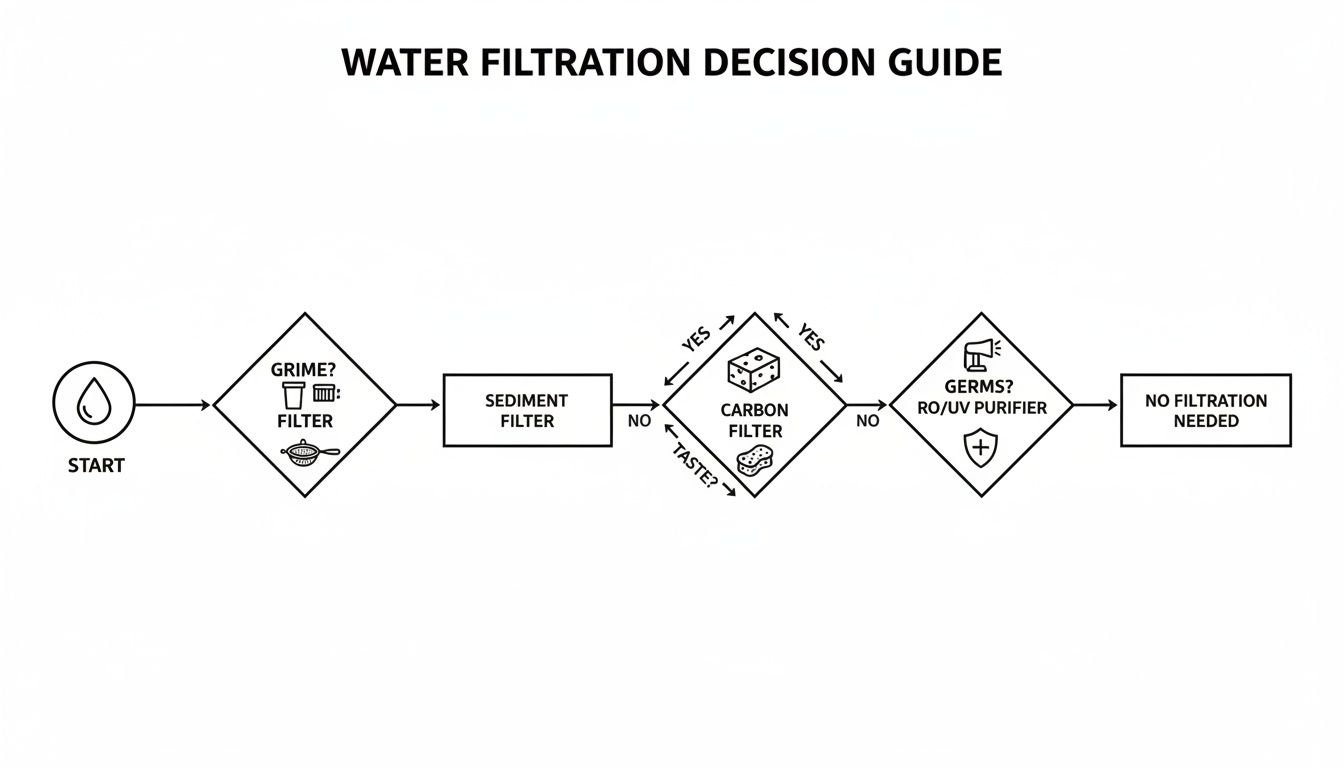
As you can see, getting rid of grime, bad tastes, and germs often requires different filters working together to give you total peace of mind.
To give you a clearer picture, here’s a quick comparison of the most common setups you'll find for caravans.
Feature Breakdown of Caravan Filter Systems
| System Type | Filtration Level | Typical Flow Rate | Installation Complexity | Best Suited For |
|---|---|---|---|---|
| Single Inline | Basic (Taste/Odour) | 4-8 LPM | Easy | Caravan park stays with treated water. |
| Twin External | Intermediate (Sediment & Carbon) | 5-15 LPM | Moderate | A mix of park stays and light off-grid use. |
| Triple External | Advanced (Sediment, Carbon, Fine) | 5-15 LPM | Moderate | Dedicated off-grid travellers using varied water sources. |
| Under-Sink RO | High (All contaminants) | 1-2 LPM | Hard | Those needing pure drinking water, like in full-time RV living. |
| UV Purifier Add-On | Germicidal (Bacteria/Viruses) | N/A (add-on) | Moderate-Hard | Anyone using untreated water (rivers, lakes, dams). |
This table shows there's a clear trade-off between filtration power, cost, and ease of installation. Your ideal choice really hinges on how and where you travel.
Flow Rate and Installation Realities
Another thing you absolutely have to consider is flow rate. There’s nothing more annoying than a tap that just dribbles out water when you’re trying to fill the kettle. A filter system that’s too restrictive for your caravan’s 12V pump will kill your water pressure. Always check the filter’s rated flow rate (in litres per minute) and make sure it plays nicely with your pump’s output.
Space, of course, is the final frontier in any caravan. Mounting a filter system externally on the A-frame is a popular move because it saves cupboard space and makes swapping cartridges a breeze. On the other hand, putting it under the sink protects it from weather and potential theft.
Finally, while a DIY job can be tempting, sourcing all the right bits and pieces can turn into a real nightmare. That’s where complete kits are worth their weight in gold. Here at Ring Hot Water, we simplify everything by offering pre-assembled systems with all the parts you need, right down to the specific 12mm John Guest fittings used in most Aussie vans. It takes all the guesswork out of the job and gets you on the road with safe, great-tasting water without the fuss.
A Practical Guide to Installation and Maintenance
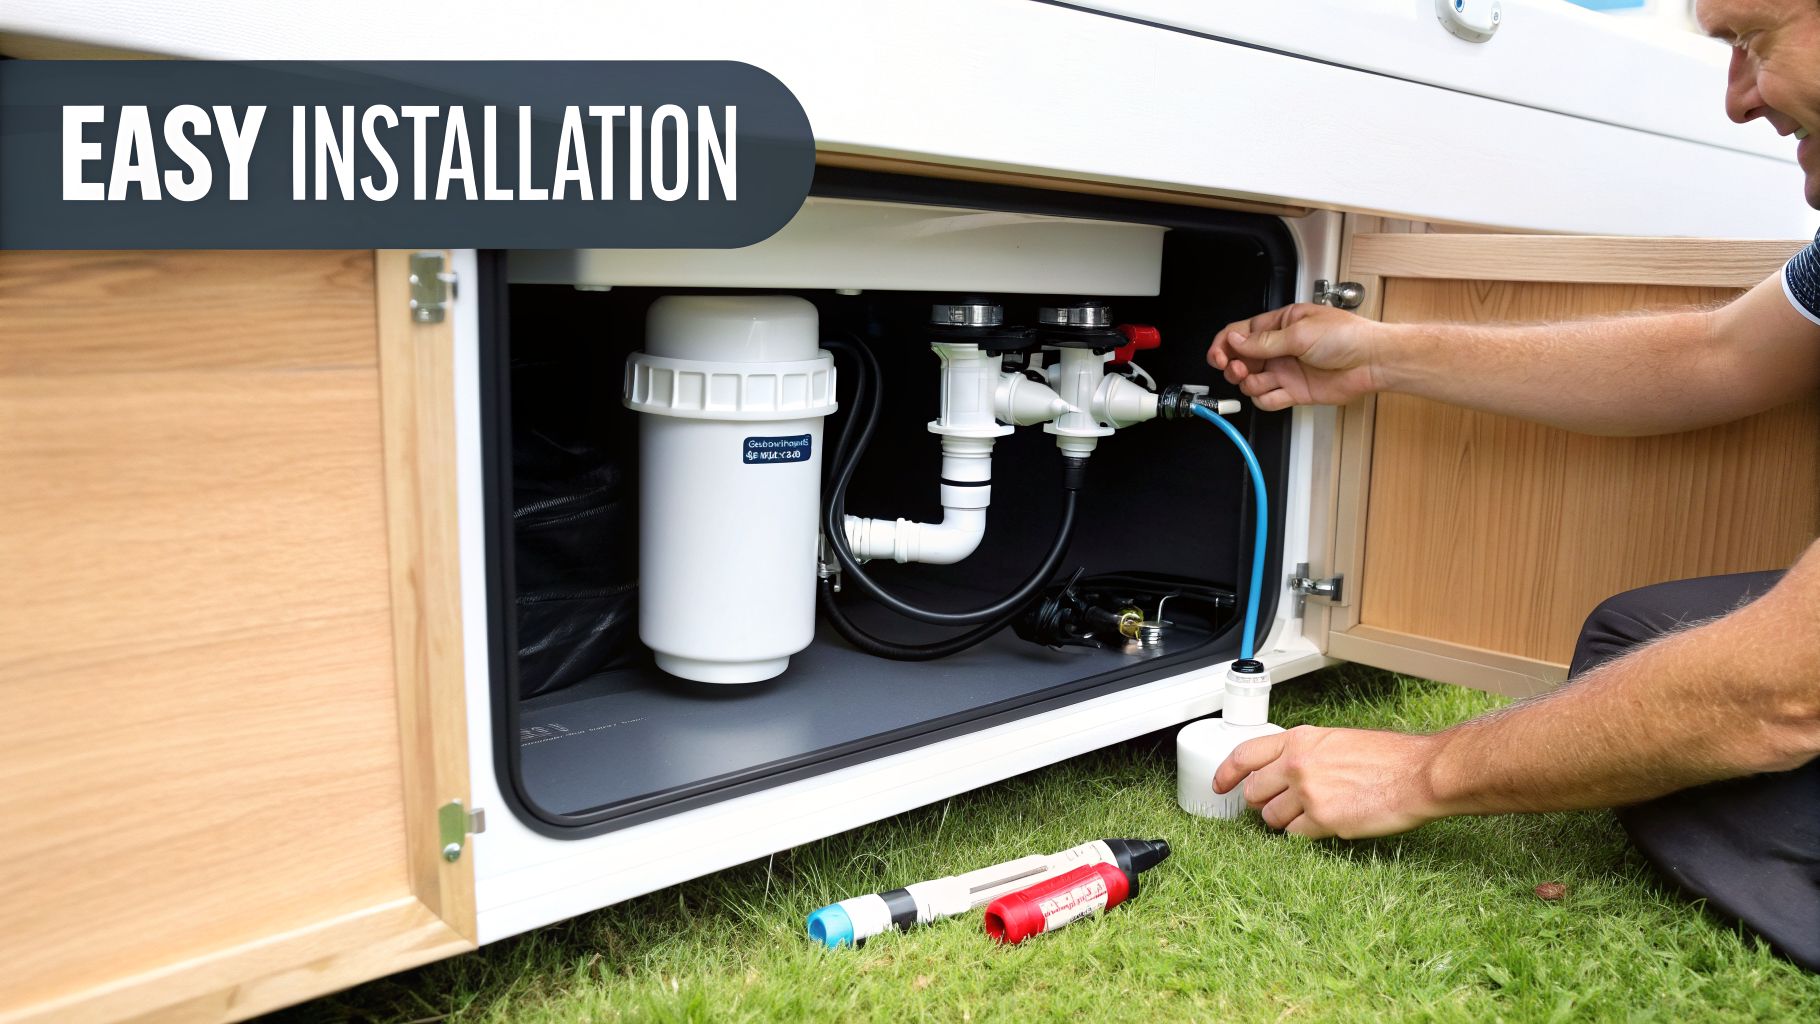
Squeezing a water filter system into the tight spaces of a caravan might look daunting, but it's a surprisingly manageable job with a little forethought. Whether you go for an internal or external setup, a solid, leak-free installation is everything. Get it right the first time, and you'll save yourself a world of hassle on the road.
The first big decision is where to actually put it. Many experienced caravanners mount their filters externally on the A-frame for quick access. Others prefer to tuck them away safely under a sink inside. Both spots have their pros and cons.
Choosing Your Installation Location
An external setup is a popular choice for good reason. It keeps the whole system out of your precious living space and makes swapping filter cartridges an absolute breeze. You can see what you're doing without having to become a contortionist under the kitchen sink. The trade-off, of course, is that it leaves your filter exposed to the weather, road grime, and even potential theft.
On the other hand, an internal installation under the sink keeps everything secure and protected from the elements. The main drawback here is losing valuable cupboard space, and changing the filters can be a bit more of a fiddle in a cramped cabinet.
Here’s a quick breakdown of how they compare:
| Feature | External Mount (A-Frame) | Internal Mount (Under-Sink) |
|---|---|---|
| Accessibility | Excellent; dead simple to get to for maintenance. | Fair; can be a tight squeeze to work in. |
| Protection | Exposed to weather, road debris, and theft. | Protected and secure from the elements. |
| Space | Frees up valuable internal storage. | Takes up cupboard space. |
| Leaks | Any drips happen outside the van. | Leaks could cause water damage inside. |
Your Step-By-Step Installation Guide
While your specific filter system will have its own instructions, most twin-cartridge setups follow the same basic steps. Always read the manufacturer's guide, but here’s what you can generally expect.
- Pick Your Spot: Decide on the final location for the filter housing. Make sure there’s enough room underneath to easily unscrew the bowls when it’s time to change the cartridges.
- Mount the Bracket: Securely fix the filter bracket to a solid surface. If you're mounting it on the A-frame, use sturdy stainless steel bolts. For an inside job, screw it firmly to a reinforced wall inside the cupboard.
- Cut the Water Line: Switch off your water pump and open a tap to release any pressure in the system. Find a good spot in your main water line (usually just after the pump) and make a clean, straight cut.
- Connect the Hoses: This is where you can't afford to cut corners. Use high-quality, leak-proof connectors. 12mm push-fit fittings, like those from John Guest, are the industry standard for a reason—they are dead reliable and incredibly easy to use.
- Check for Leaks: With everything connected, turn your pump back on to pressurise the system. Go over every single connection point with a keen eye, looking for any drips. If you spot one, tighten the fitting until it stops.
Using the right fittings is non-negotiable if you want a setup you can trust. The vast majority of Australian caravans use a 12mm water line, which makes John Guest connectors the go-to for a secure, professional installation that won't let you down in the middle of nowhere.
Keeping Your System in Top Shape
Getting the filter installed is only half the job. Regular maintenance is what keeps your water clean and your system running smoothly for years to come. If you neglect it, you’ll end up with foul-tasting water and could even cause damage to your van’s plumbing. If you want to understand the heart of your water system better, our guide on choosing a 12v water pump for your caravan is a great place to start.
Just set a simple reminder on your phone. Most filter cartridges need changing every 6-12 months, or sooner if you notice the water flow starting to slow down.
Each time you swap the cartridges, give the filter housings a good scrub with warm, soapy water. It’s also a great time to sanitise your water lines to stop any biofilm from building up. And if you’re travelling in freezing temperatures, don't forget to drain the system completely to prevent ice from cracking the housings.
Putting Water Safety First on Your Travels
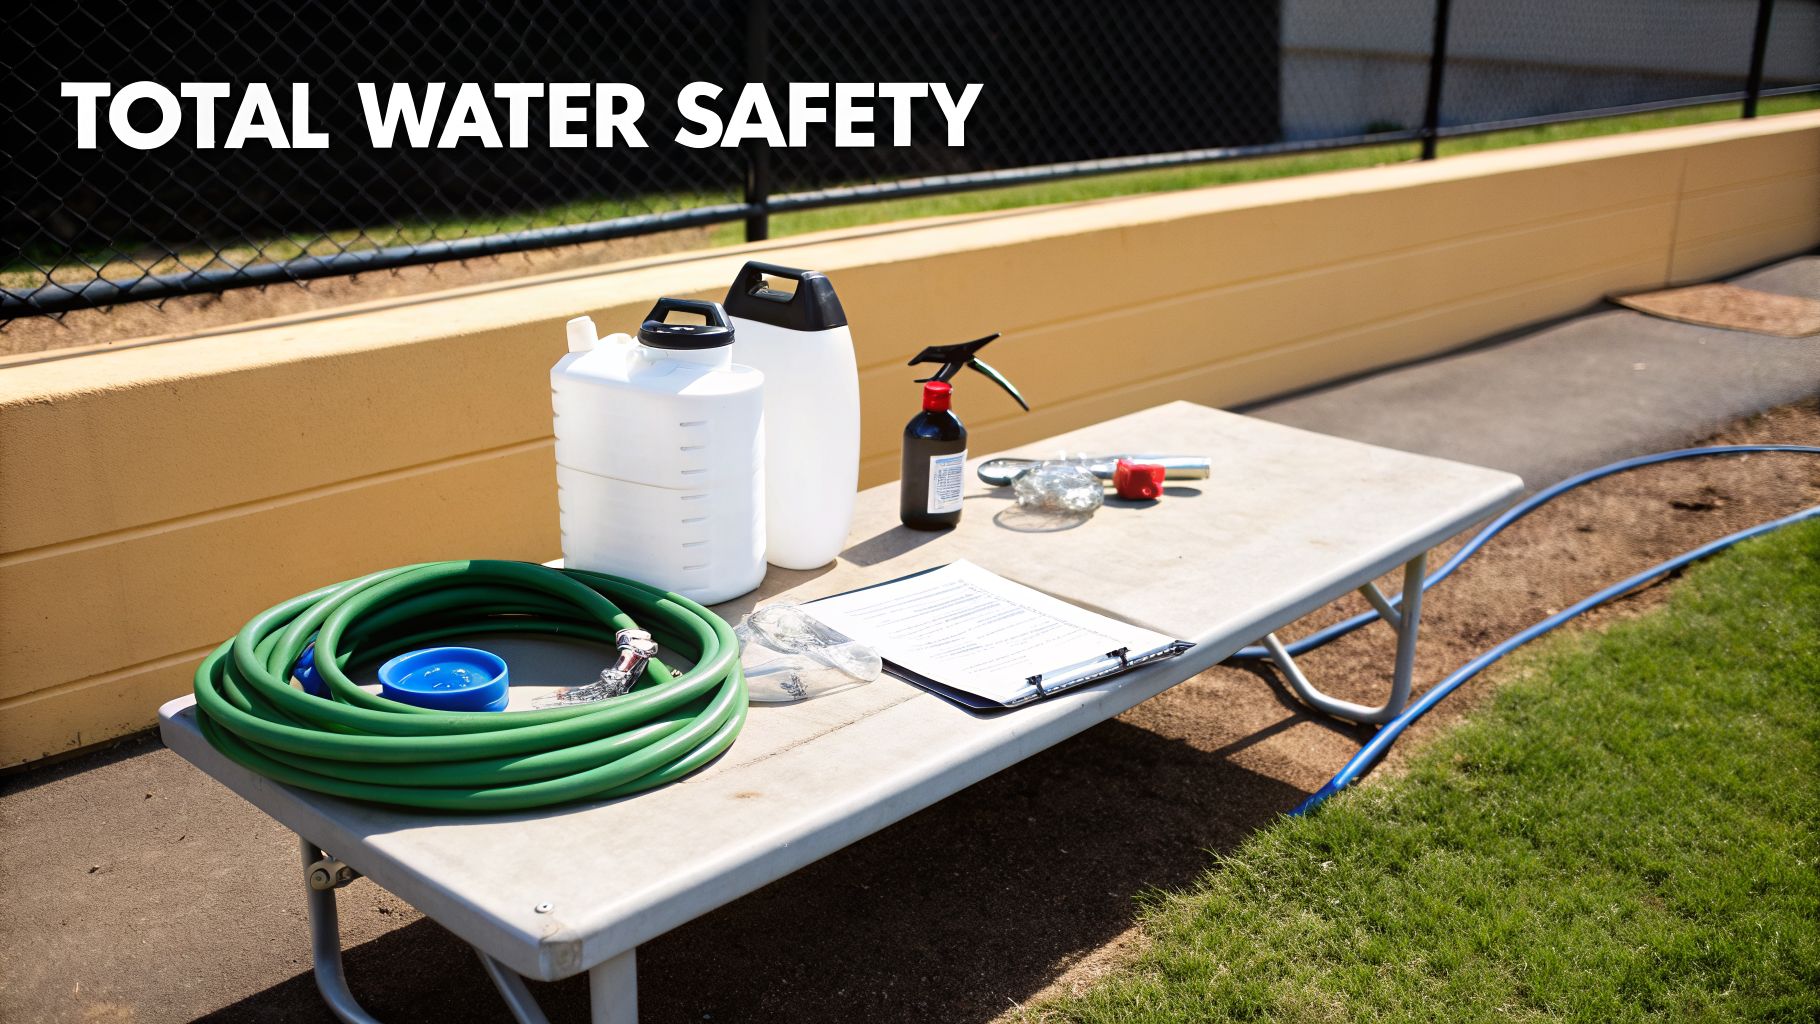
Popping in a good water filter is a brilliant first step, but it’s not the whole story when it comes to safe water on the road. Think of it more like building a complete system from the ground up. It’s a mix of having the right gear and adopting a few smart habits that guarantees every drop from your caravan tap is clean, safe, and tastes just right.
This all begins right at the source—the tap at the caravan park. The hose you use to fill your tanks is the first link in the chain, and it's far more important than most people realise. A standard green garden hose can actually leach a nasty plastic taste and even unwanted chemicals into your water before it even gets a chance to see your filter.
Start with a Solid Foundation
This is why a dedicated food-grade hose is an absolute must-have. They’re made from materials certified for drinking water, so you can fill your tanks knowing you’re not adding any contaminants from the get-go. You wouldn’t store your food in any old plastic tub, and the same thinking should apply to your water supply.
And for those day trips or long hikes away from your rig, having a personal backup gives you incredible flexibility. A good quality water filter bottle for travel for safe hydration is a fantastic bit of kit for an extra layer of security, wherever you might wander.
A Simple Checklist for Complete Water Confidence
Even with the best filter and hose, your water tanks and pipes can become a home for bacteria over time. That’s why a regular flush and sanitisation is such a vital part of your maintenance routine. It's a straightforward job that keeps your whole system, from tank to tap, absolutely pristine.
A Quick Guide to Sanitising Your System:
- Drain Everything: Start by completely emptying your fresh water tanks and your hot water system.
- Add a Sanitising Solution: Use a proper, non-toxic cleaning product made for RV water tanks. Just follow the instructions for how much to use based on your tank size.
- Fill and Circulate: Top up your tanks with fresh water. Then, turn on your pump and open every tap—hot and cold—one at a time until you can smell the cleaning solution coming through.
- Let It Do Its Work: Leave the solution to sit for the recommended time, usually a few hours or even overnight. This gives it time to deal with any lurking bacteria.
- Flush, Flush, and Flush Again: Drain the system completely and fill it back up with fresh water. Run all your taps until any trace of the cleaner's smell is gone. You might need to do this two or three times to be sure.
Staying on top of your water system isn't just another chore; it's what gives you total freedom on your travels. A little routine maintenance provides complete confidence in the water you're using, no matter how far off the beaten track you are.
Finally, if you're ever drawing water from an unfamiliar bore or river and feel a bit unsure, simple water testing strips are a cheap and brilliant tool to have in your kit. They give you a quick reading on things like pH, hardness, and certain chemicals, helping you decide if it’s water you want in your tanks. This proactive approach, paired with good gear, is the real secret to worry-free water on every trip.
Your Caravan Water Filter Questions, Answered
Thinking about water filters for your van? It's a common topic, and it can feel like there's a lot to learn. We get asked plenty of questions about the right way to get clean, safe water on the road, so we've put together some straight-up answers to the most common ones.
How Often Should I Change My Filter Cartridges?
The simple answer is every 6 to 12 months, but let's be realistic—it's rarely that straightforward. Your real-world usage is what truly matters.
Think about where you're filling up. If you're consistently using pristine town water, you'll get a good long life out of your cartridges. But if you’re pulling from bores, dams, or regional taps with heavy sediment, you’ll be changing them much sooner. The best indicator isn't the calendar; it's your water flow. When your taps start to slow to a frustrating trickle, that's your filter telling you it's clogged and ready for a swap.
Can I Get By With Just One Filter?
A single filter is a good start, but it’s a bit like using an umbrella in a hailstorm—it helps, but you’re still going to get wet. Australia’s water quality is all over the map. One day you’re in a caravan park near Melbourne dealing with heavily chlorinated town water, the next you're filling up from a bore that’s full of grit.
A single filter just can't handle both jobs effectively. For more on this, check out the great insights from the team at Filter Systems Australia. This is exactly why most experienced travellers opt for a twin or triple filter kit.
Think of it as teamwork. A multi-stage system uses a sediment filter to take the first hit, catching all the dirt and grit. This protects the more specialised carbon filter behind it, freeing it up to focus on what it does best: removing chlorine, tastes, and odours. The result is better water and longer-lasting cartridges.
What’s the Difference Between an Inline and a Fixed System?
This really comes down to convenience versus performance.
An inline filter is that simple, portable filter you connect to your hose while filling your tanks. It’s fantastic for a quick and easy way to strip out chlorine from town water supplies, but its protective power is pretty basic.
A fixed system, on the other hand, is properly plumbed into your caravan, usually tucked away under the sink or mounted on the A-frame. These are the serious workhorses—the twin or triple systems that give you consistently filtered water at every tap. Installation takes a bit more effort, but for anyone travelling off the beaten track, the peace of mind is priceless.
For genuine, hands-on advice on picking the best water filter for your caravan and to see a full range of van-specific gear, pop into Ring Hot Water in Melbourne or check us out online. We’ve got all the filters and fittings you’ll need. Get your water sorted by visiting https://ringhotwater.com.au.